


Don’t Torch Your Ceiling: A Quick Guide to Infrared Heater Clearance
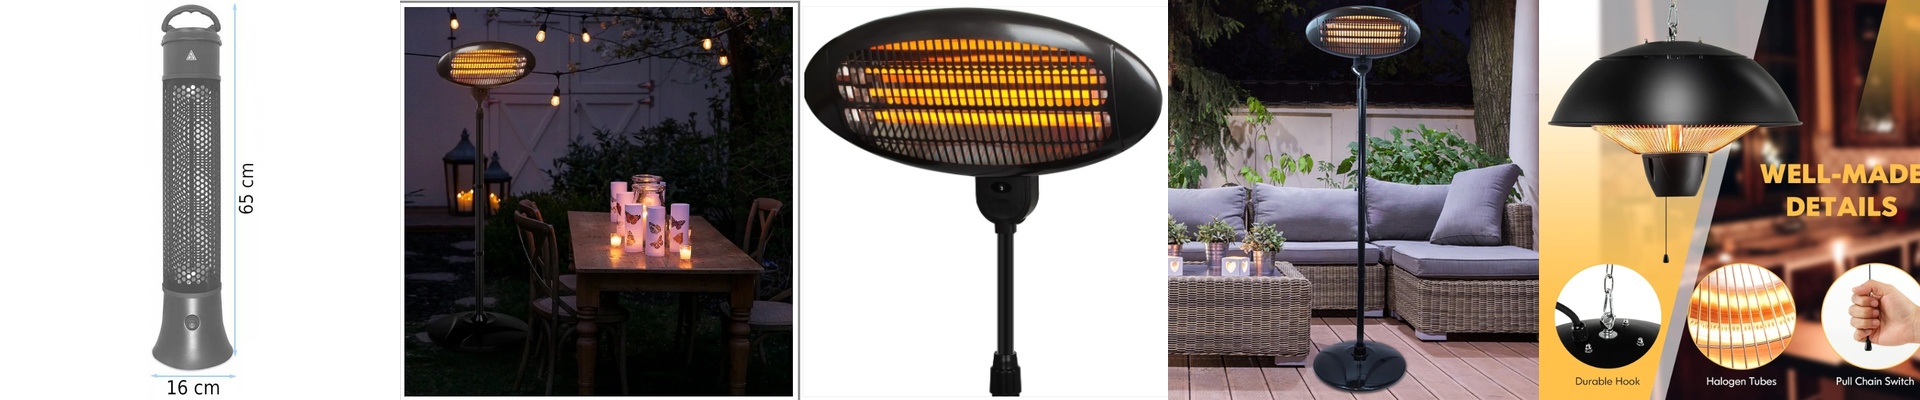
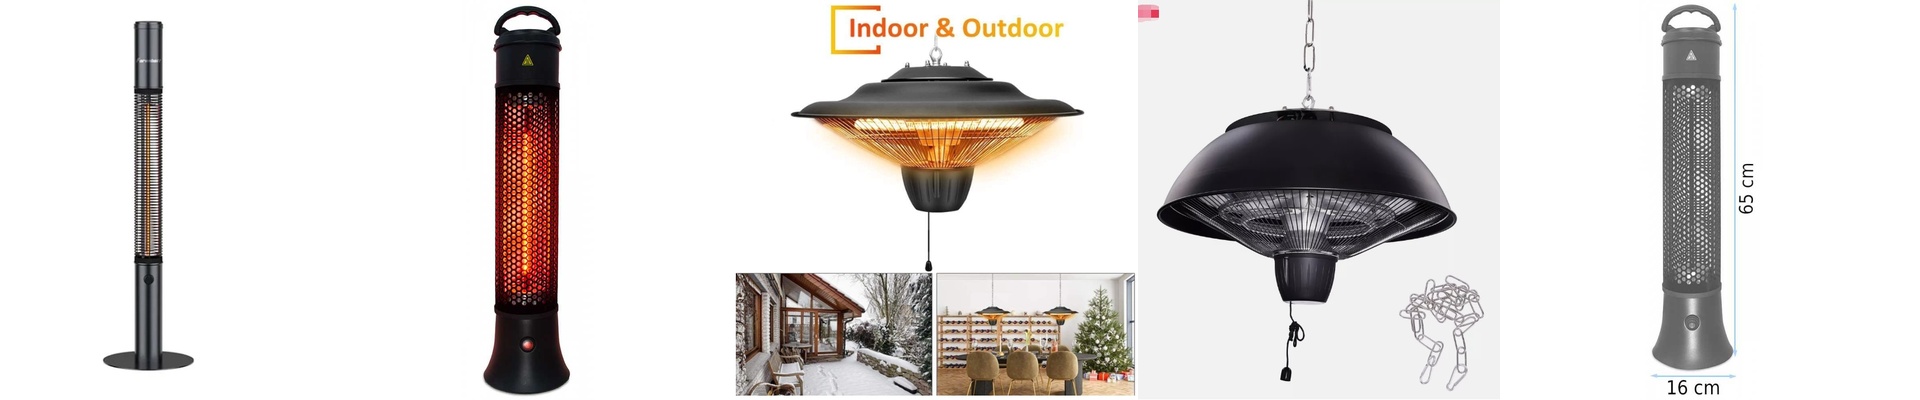
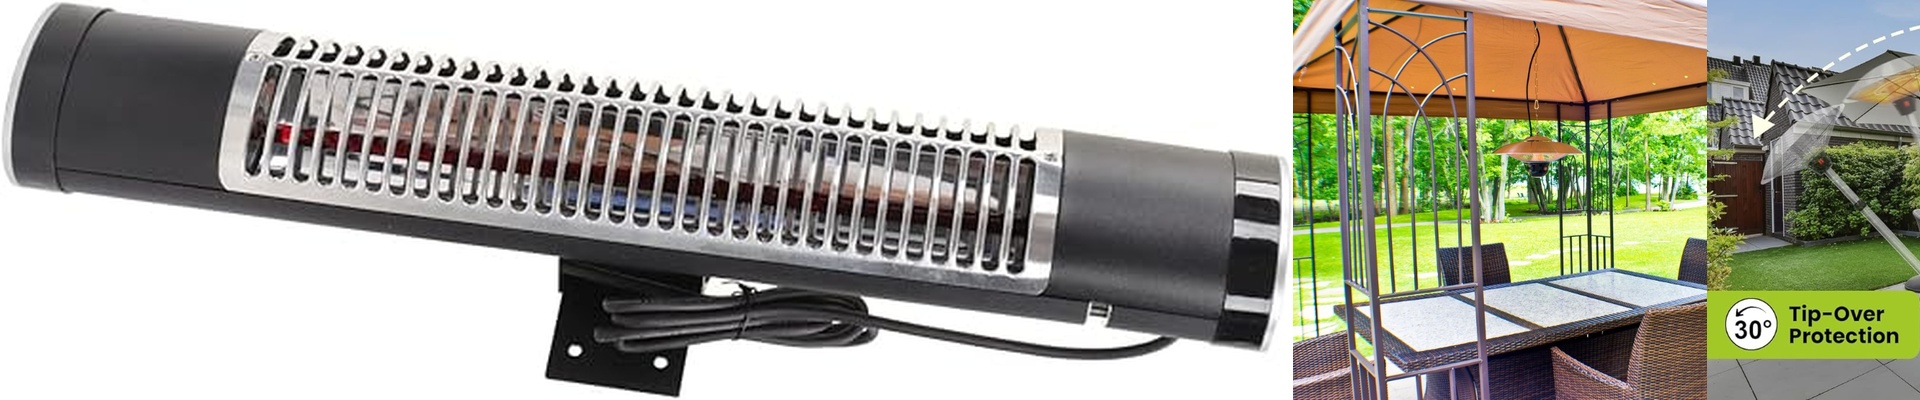
When you’re setting up infrared heaters in a locker room or on a patio, it’s easy to just pick a spot that looks “right” and call it a day. But the gap between the heater and the ceiling is about more than just looks. It’s about keeping your gear running and your building from catching fire. Here is the thing about infrared heat. It’s great because it warms people and objects directly instead of wasting energy on the air. But no machine is perfect. Some of that heat still leaks out as hot air, and since heat rises, it heads straight for the ceiling. If you tuck a powerful unit too close to the roof, you basically create a heat pocket. That trapped air bakes the heater’s own housing. Before you know it, your components burn out or the thermal safety switch keeps tripping, leaving everyone shivering. Then there’s the actual fire risk. Depending on the wattage, you usually need a gap of 0.5 to 1.5 meters. If you skip this, you’re playing a dangerous game with your ceiling materials. I’ve seen it happen too often—drywall starting to char, wood beams scorching, or paint peeling off in sheets because the installer didn’t account for the “throw” of the heat. It’s a mess. Now, you might be tempted to mount the heater lower to give people that instant, cozy warmth. But there’s a trade-off. Mount it high, and you get a wide, gentle spread of heat. Mount it too low, and you end up with guests who have sweating heads and freezing toes. It’s an uncomfortable balance. To get the best of both worlds, use a focused reflector to push the heat straight down. It keeps the ceiling cool and the people warm. One last tip: check your hardware. Make sure your wiring can handle a constant load and bolt those brackets directly into structural joists. Please, for the love of everything, don’t trust a heavy industrial heater to a couple of plastic drywall anchors.